


Hey there! I'm part of a cabinet body supplier team, and today I'm gonna walk you through how to assemble a flat - packed cabinet body. It might sound a bit daunting at first, but trust me, with a little patience and the right steps, you'll have that cabinet up and running in no time.
First things first, when your flat - packed cabinet body arrives, the first step is to unpack everything carefully. Lay out all the parts on a large, flat surface. Make sure to check if you have all the pieces listed in the instructions. Most flat - packed cabinets come with a detailed parts list and a diagram. You don't wanna be halfway through the assembly and realize you're missing a crucial piece!
As a supplier, we make sure that each Closet Carcass is packed with precision. You'll find pieces like side panels, a top panel, a bottom panel, and some partitions. These make up the basic structure of your cabinet. You might also get some brackets, screws, and nails in a separate small bag. Keep these safe and organized, as they'll be essential for the assembly process.
Let's start with the base of the cabinet. Take the bottom panel and lay it flat. Then, align the side panels with the edges of the bottom panel. Usually, there will be pre - drilled holes in the panels to guide you. Use the screws provided to attach the side panels to the bottom panel. Make sure the corners are square. You can use a carpenter's square to check this. A square cabinet is not just aesthetically pleasing but also more stable.
Once the base and sides are in place, it's time to add the top panel. This is similar to attaching the side panels to the bottom. Line up the top panel with the top edges of the side panels and use the screws to secure it. At this point, your cabinet should start to take shape. You've got the basic box structure down.
Now, if your cabinet has partitions, this is the time to install them. Partitions divide the interior of the cabinet into different sections. They're great for organizing your stuff. Measure the space inside the cabinet where you want to place the partition. Mark the spots on the side panels where the partition will be attached. Then, use the brackets and screws to fix the partition in place.

Some of our customers really love our Concealed Sliding Doors in Wall option. If you've chosen this type of door for your cabinet, the assembly gets a bit more involved. First, install the track system for the sliding doors. This usually involves attaching brackets to the top and bottom of the cabinet opening and then installing the track on these brackets. Make sure the track is level and straight. Otherwise, the doors won't slide smoothly.
After the track is installed, you can hang the doors. Most sliding doors come with rollers that fit into the track. Gently lift the door and place the rollers into the track. Test the door to see if it slides properly. If it's a bit stiff, you might need to adjust the track or the rollers.
If you're assembling a Standing Wine Glass Rack as part of your cabinet, it's important to follow the specific instructions. Usually, the rack comes with pieces that need to be assembled separately and then attached to the cabinet. Make sure to align the holes properly when attaching the rack to the cabinet to ensure it's stable.
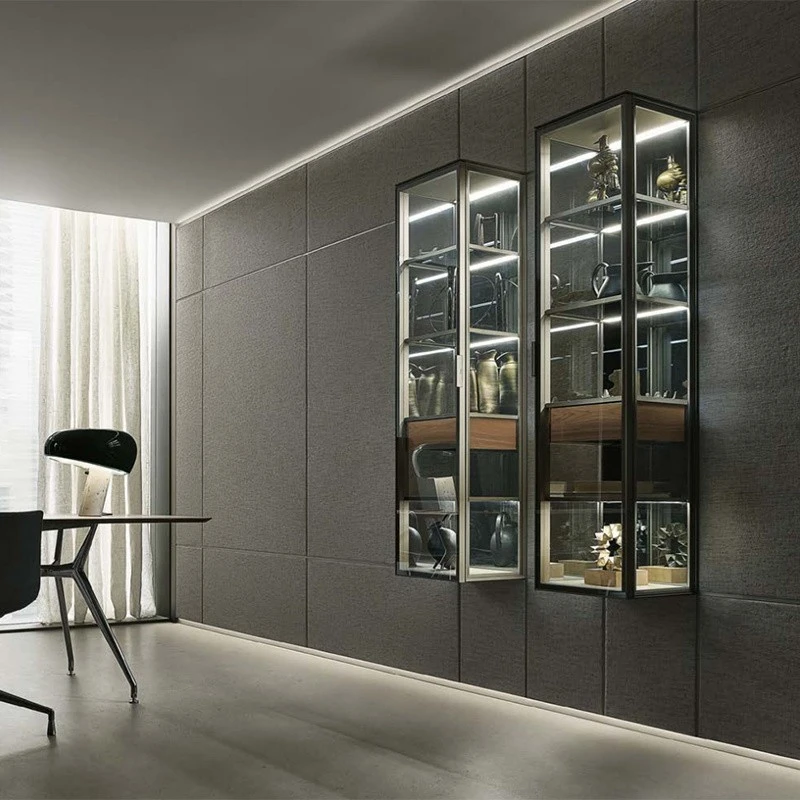
For a Glass Showcase Display Cabinet, the glass installation is the key part. Handle the glass with extreme care as it's fragile. First, clean the edges of the cabinet where the glass will be placed. Then, use the provided rubber gaskets or clips to hold the glass in place. Make sure the glass is centered and level.
A Wall Mounted Wardrobe System requires a bit more work. Before you start assembling the cabinet, you need to mark the spots on the wall where the cabinet will be mounted. Use a level to ensure the marks are straight. Then, assemble the cabinet on the floor as described above. Once it's fully assembled, lift it carefully and align it with the marks on the wall. Use wall anchors and screws to secure the cabinet to the wall.
Throughout the assembly process, it's a good idea to double - check your work. Make sure all the screws are tightened properly, and all the parts are aligned. If something seems off, don't be afraid to take it apart and start over. It's better to get it right the first time than to have a wobbly or non - functional cabinet later.
Also, don't forget to clean up as you go. Remove any packaging materials and put away the tools you're not using. This will make the whole process more organized and less messy.
In conclusion, assembling a flat - packed cabinet body might seem like a challenge, but it's definitely doable. By following these steps and the instructions that come with your cabinet, you'll have a beautiful and functional piece of furniture in your home.
If you're interested in purchasing high - quality cabinet bodies for your project, we'd love to talk to you. Whether it's for a home renovation or a commercial space, we've got the right solutions for you. Just reach out to us for a detailed discussion on your needs and requirements.
References
Cabinet Assembly Guides from Industry Standards
Personal Experience from Assembly Projects